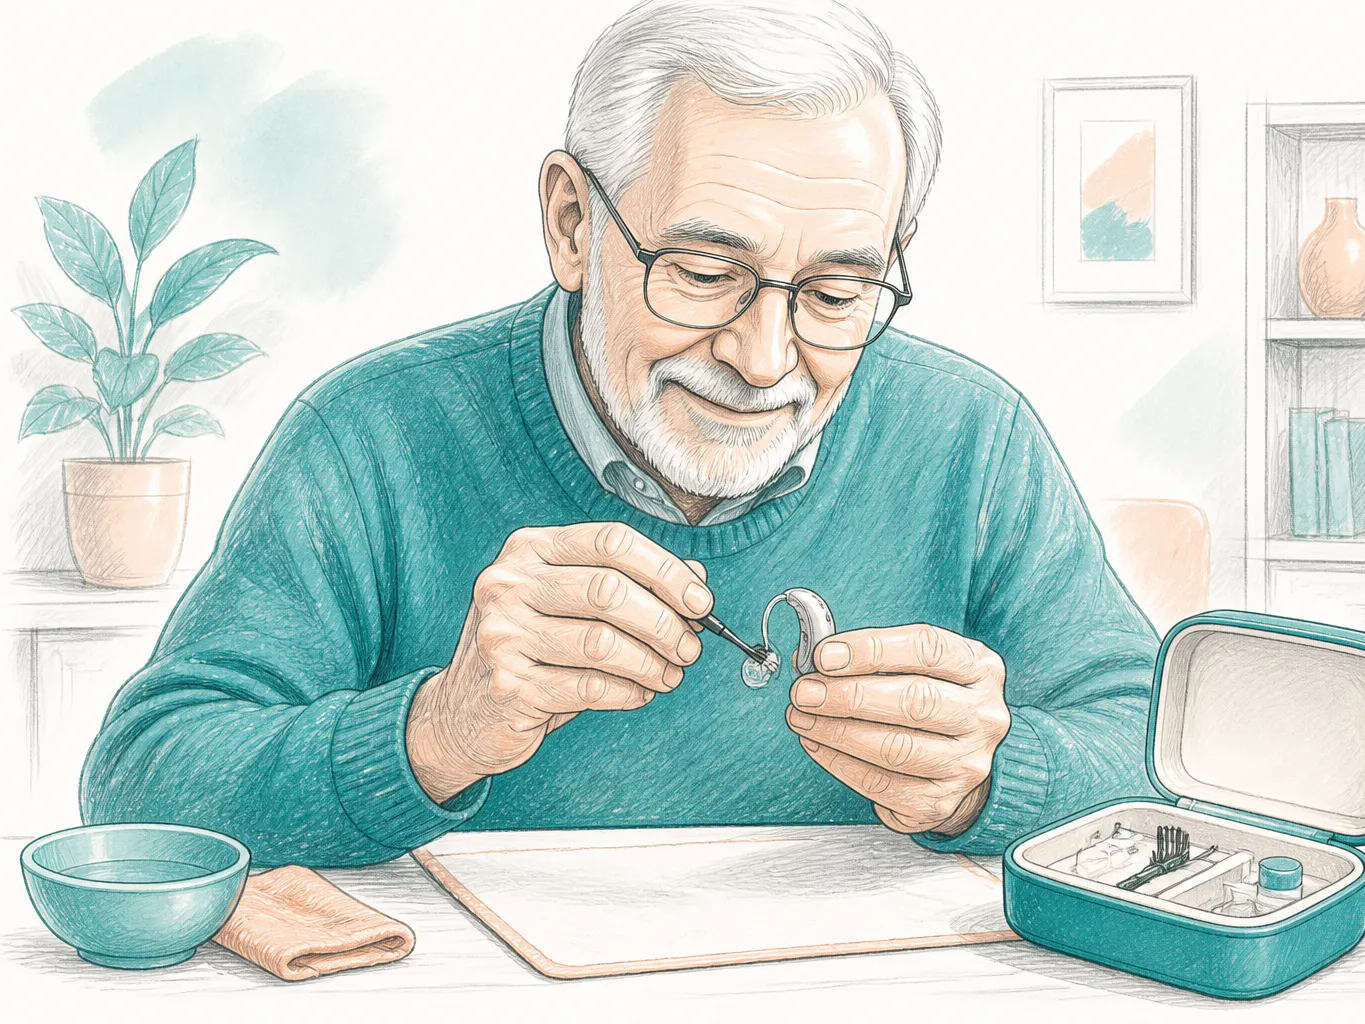
Ear wax can absolutely affect hearing aid performance. It can block receivers, muffle sound, trigger feedback, and make a perfectly good device seem faulty. The fix usually involves two separate jobs, keeping the hearing aid clean and managing ear wax in the ear canal safely.
Quick answer, can ear wax affect hearing aids?
Yes, ear wax can interfere with hearing aids in several ways. It can block the ear canal, clog the hearing aid receiver or dome, and cause sounds to become faint, distorted, or intermittently cut out.
The important point is that cleaning hearing aids and dealing with ear wax are not the same thing. You can safely clean some parts of the device at home, but wax inside the ear canal should be handled carefully, and in many cases professionally.
Why ear wax and hearing aids need different kinds of care
Ear wax is a normal, protective substance. It helps trap dust and debris, keeps the ear canal moisturised, and protects sensitive skin. The problem starts when too much wax builds up, hardens, or gets pushed deeper into the ear, especially when a hearing aid sits in the canal every day.
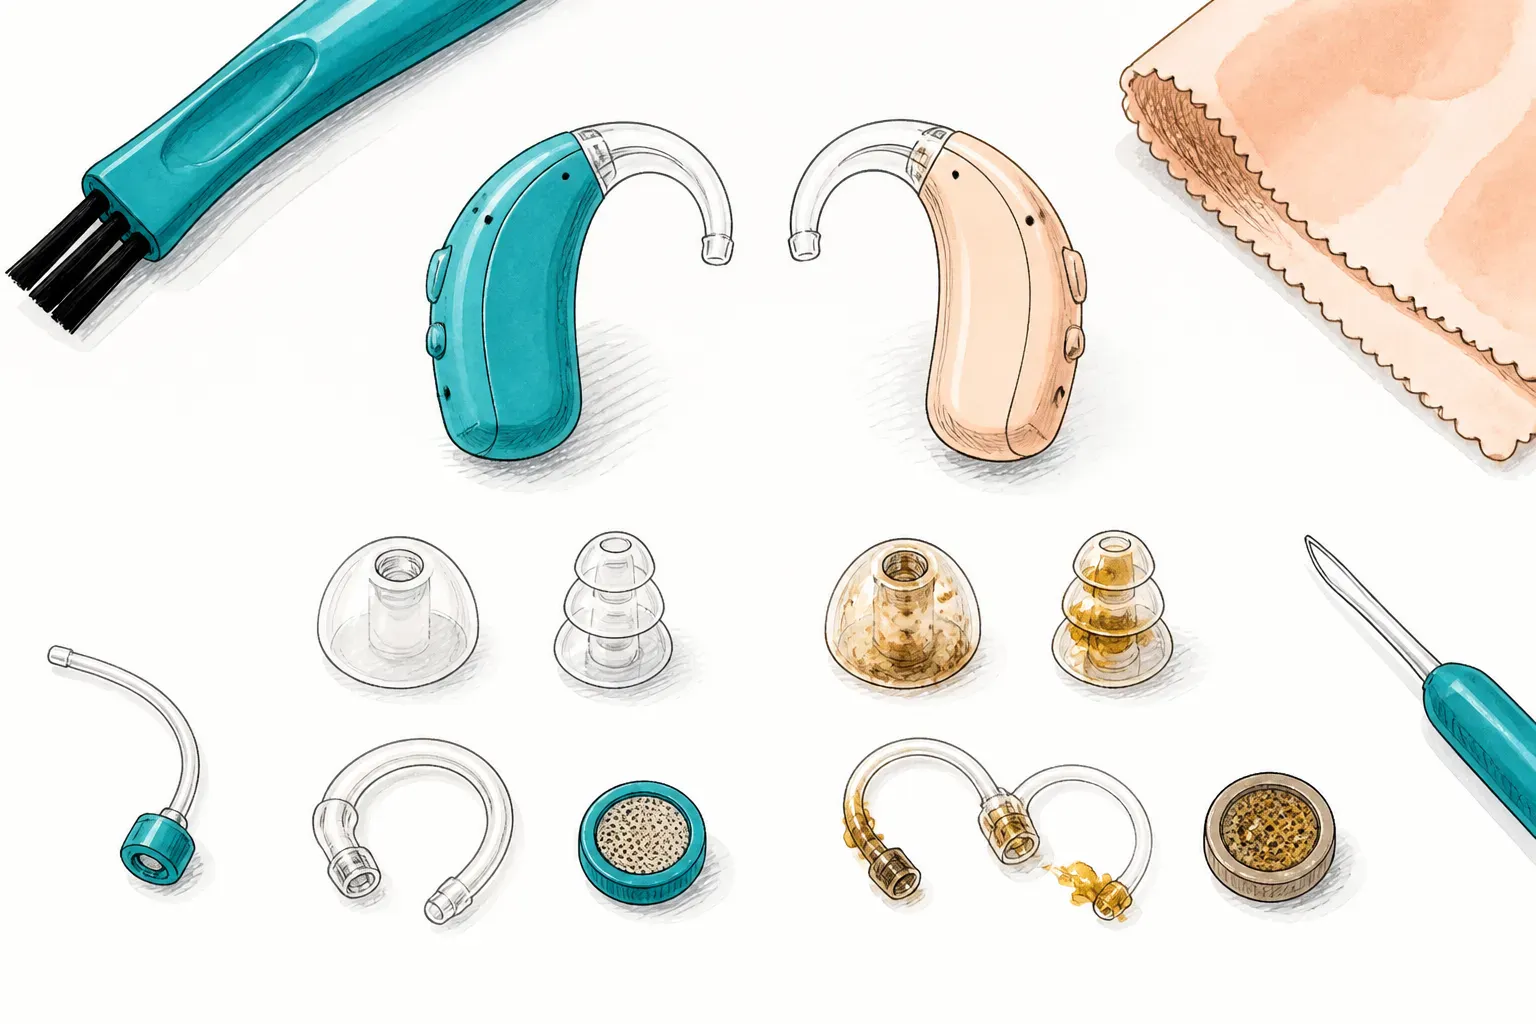
Hearing aids also vary in design. Some have domes, some use custom moulds, and others sit behind the ear with a thin tube or wire leading into the canal. Wax can build up on several parts:
- the microphone openings
- the receiver
- domes and moulds
- tubing in behind-the-ear models
- wax guards and filters
- charging contacts, in rechargeable devices
When wax affects the device, common signs include:
- reduced volume
- muffled or unclear speech
- feedback or whistling
- sound that comes and goes
- discomfort in the ear
- a feeling that the hearing aid is blocked even after cleaning
The key distinction is simple. Cleaning the hearing aid means looking after the device itself. Managing ear wax means keeping the ear canal clear enough for hearing and for the hearing aid to work properly.
Aspect | Hearing aid cleaning | Ear wax management |
|---|---|---|
Main purpose | Keep the device working properly | Keep the ear canal clear and comfortable |
Typical tools | Soft cloth, brush, wax pick, wax guards, drying box | Softening drops, professional removal equipment |
Main risks | Damaging microphones, receivers, seals, or tubing | Pushing wax deeper, scratching the ear canal, infection |
Best done by | User or carer, with guidance | Often a clinician, especially if wax is hard or impacted |
Common outcome | Better sound and device hygiene | Improved hearing and a safer fit for hearing aids |
If you are unsure whether the problem is the device or the ear, it is worth checking both. For people who wear hearing aids regularly, wax management often becomes part of ongoing hearing care rather than a one-off fix. For that reason, many patients benefit from Microsuction ear wax removal when the ear canal is blocked or the device keeps clogging.
For broader hearing care advice, you may also find NHS guidance on hearing aids and ear care and RNID advice on hearing aid cleaning and maintenance helpful.
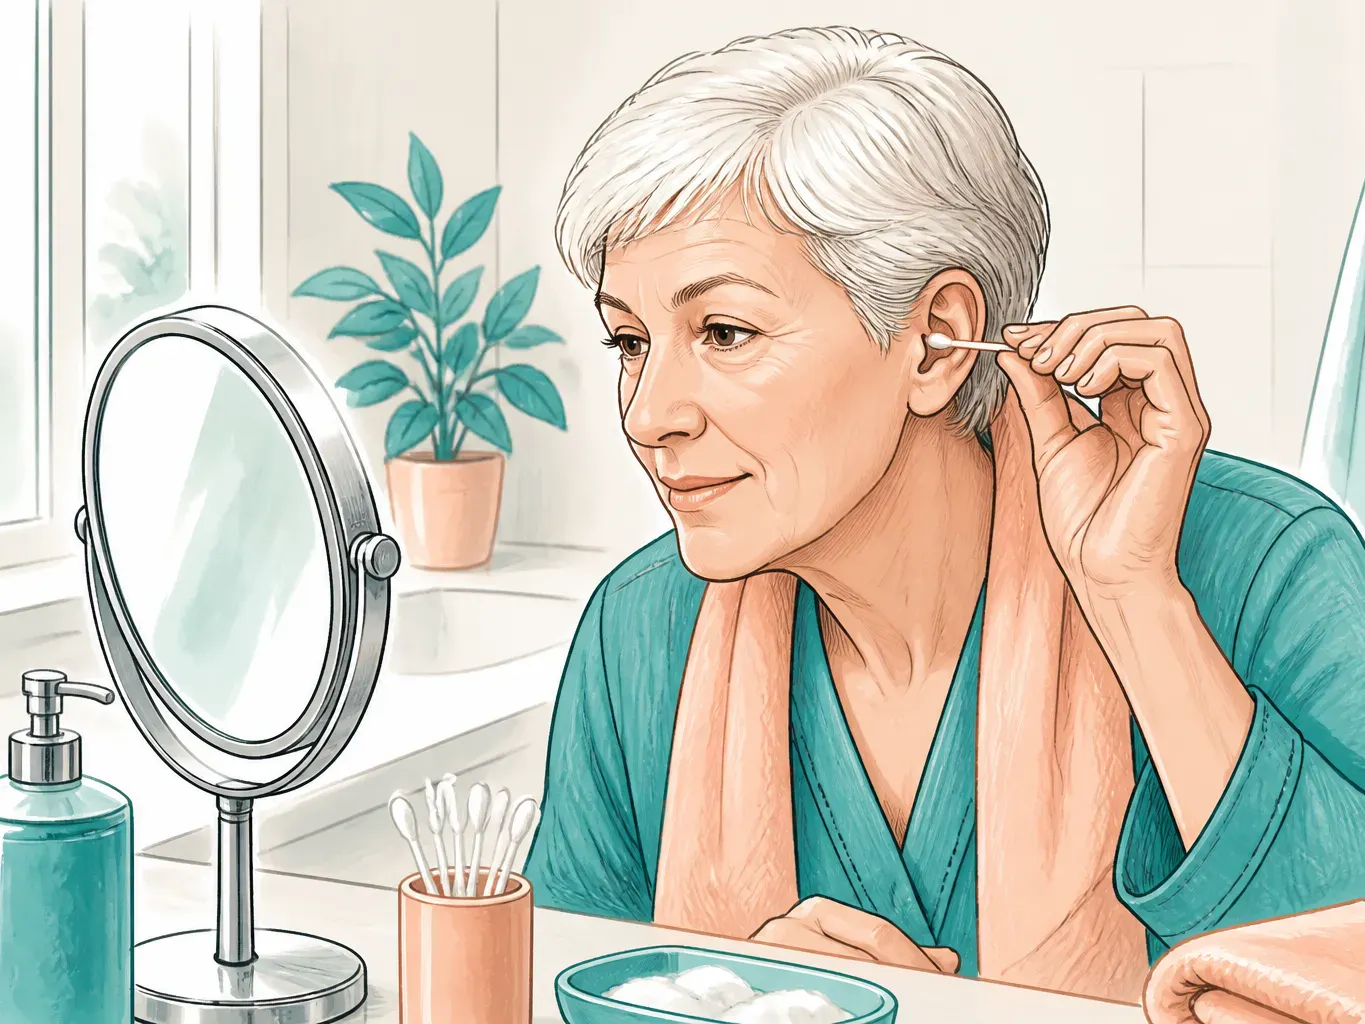
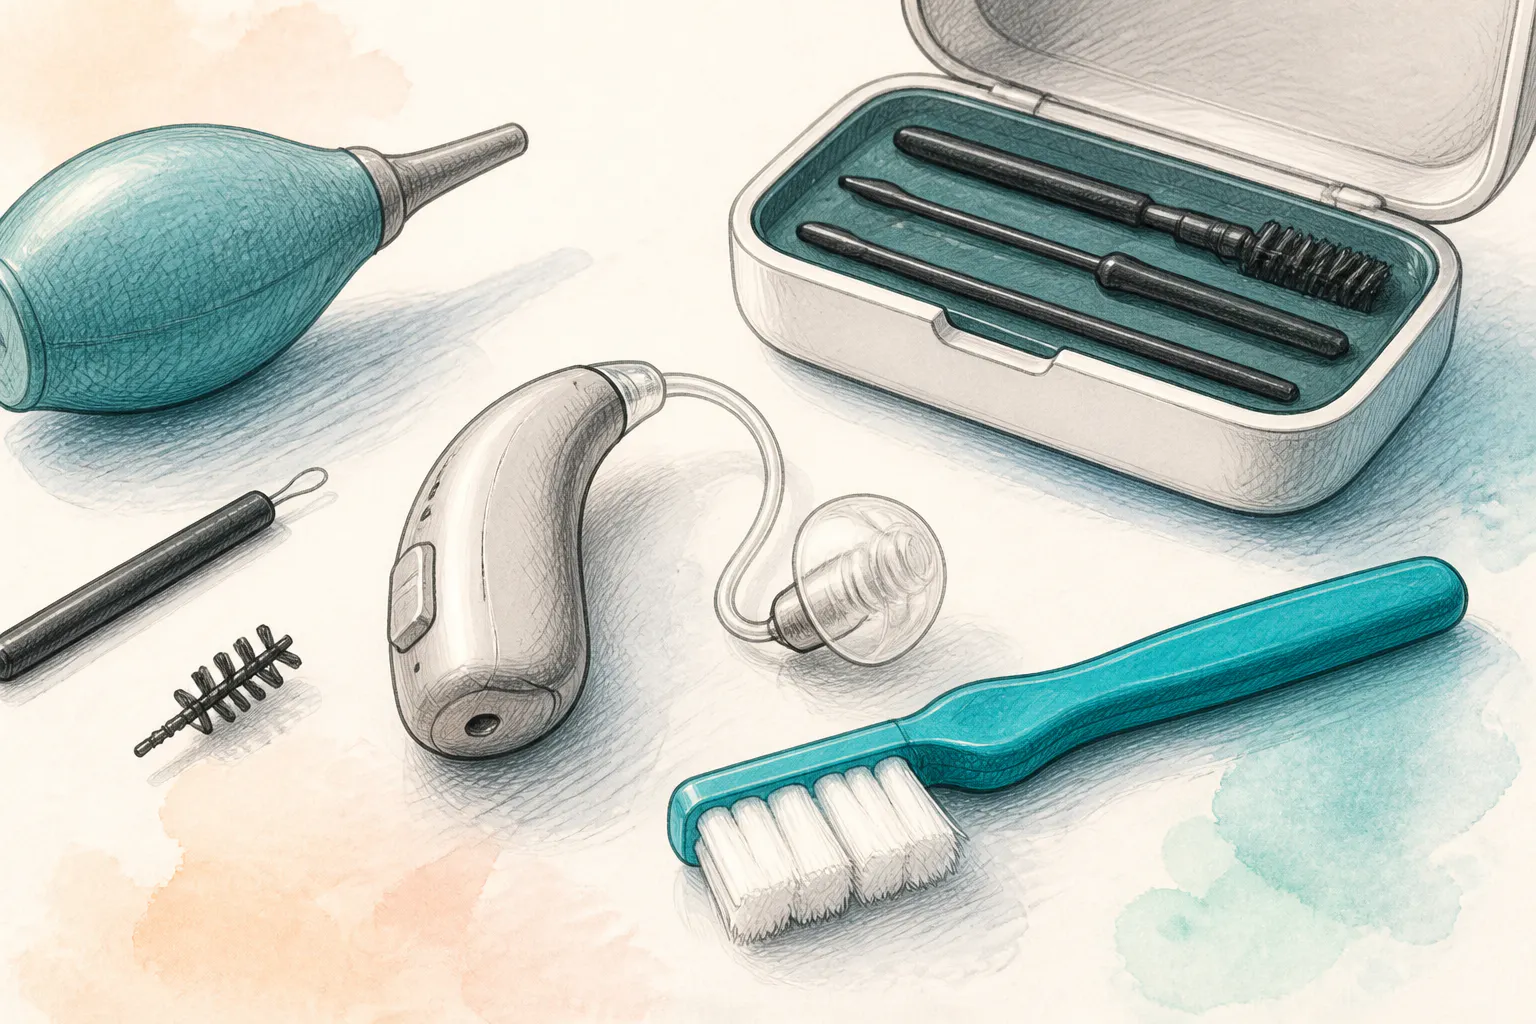
What you can safely clean at home
A good home routine can make a real difference, especially for older adults, busy carers, and anyone who wants to avoid unnecessary appointments. The rule is to clean only the parts of the hearing aid that are designed to be cleaned by the user.
Safe everyday tasks usually include:
- wiping the hearing aid with a soft, dry cloth
- brushing away visible debris from microphone ports and casing
- checking for wax around domes or moulds
- replacing wax guards or filters if your model uses them
- keeping the device in a dry, protective case when not in use
- cleaning charging ports only as directed by the manufacturer
What not to do is just as important:
- do not use cotton buds inside the ear canal or deep inside the hearing aid
- do not use pins, paper clips, or sharp tools to pick out wax
- do not soak the device in water
- do not spray alcohol or cleaning fluid into openings unless the manufacturer specifically advises it
- do not attempt to force parts apart if they are stuck
A simple routine is often enough for many users:
Daily
- wipe the device down
- inspect for wax and moisture
- store it properly overnight
Weekly
- brush vents and openings gently
- check wax guards or filters
- inspect domes or moulds for wear
- clean the charging case if the manufacturer allows it
If you care for someone else, such as a parent or a resident in a care home, it helps to keep a small kit in one place. A soft brush, clean cloth, spare filters, and the instructions for that specific model are usually enough.
Step-by-step hearing aid cleaning routine
A calm, consistent routine is better than a rushed deep clean. If you are new to hearing aids, or helping someone who feels anxious about handling them, the steps below can make the process feel more manageable.
1. Prepare a clean, dry space
Choose a table with good light. Lay down a soft cloth so small parts do not bounce away if dropped. Wash and dry your hands first. If the hearing aid uses a battery, switch it off and open the battery door. If it is rechargeable, remove it from the charger.
2. Wipe the outer surface
Use a dry, lint free cloth to wipe the case. Focus on the areas that are touched most often, such as the shell, the hook, and the outer tubing. If there is visible moisture, let the device air dry before reassembling it.
3. Clear microphone ports and vents gently
Use the soft brush supplied with the hearing aid. Brush away any dust or wax from the microphone openings and vents. Hold the device so debris falls out rather than being pushed in.
For behind-the-ear models, gently check the tubing and dome area. For in-the-ear models, inspect the shell and openings carefully, but avoid inserting anything into narrow channels.
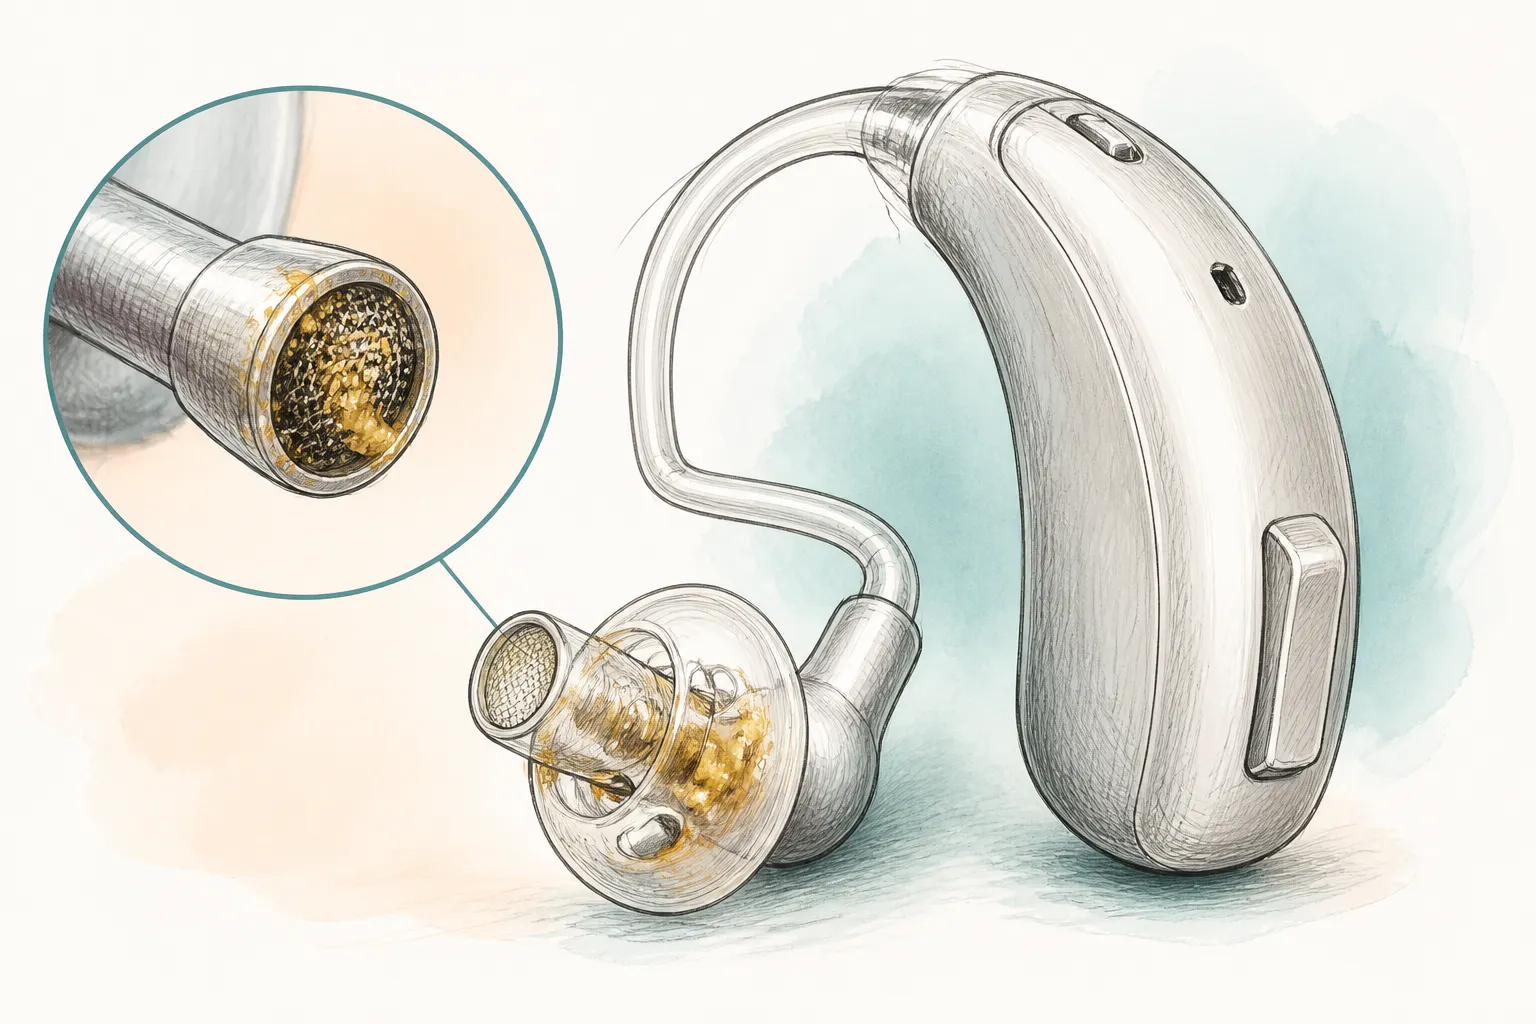
4. Check the wax guard or filter
Many hearing aids use a wax guard to protect the receiver. If your device has one, replace it according to the manufacturer’s instructions. A blocked wax guard is one of the most common reasons for weak sound.
This is especially important for users who notice their hearing aid sounds fine for a while, then becomes quiet again. Wax guard replacement can restore performance quickly, but if wax keeps returning, the ear canal itself may need attention.
5. Inspect domes, moulds, and tubing
Look for cracking, discolouration, stiffness, or residue. Silicone domes can wear out over time. Moulds and tubing may need more specialist cleaning or replacement. If the tubing looks cloudy, brittle, or kinked, it may need professional servicing.
6. Check batteries or charging contacts
If the hearing aid uses batteries, check for corrosion or debris in the compartment. If it is rechargeable, look at the charging contacts and wipe them only as advised by the manufacturer. Moisture in these areas can cause charging problems.
7. Store the device correctly
Put the hearing aid in its case or drying container. A dry box or dehumidifying system can be especially useful in damp homes or for people who wear their aids all day. Never leave the device on a bathroom shelf or near steam.
A quick style guide for different hearing aids
Hearing aid type | Cleaning focus | Extra caution |
|---|---|---|
Behind-the-ear | Dome, tube, hook, microphone ports | Check tubing for moisture and wax |
Receiver-in-canal | Receiver opening, wax guard, dome | Do not probe the receiver with sharp tools |
In-the-ear | Shell, vents, battery door | Avoid excess moisture and pressure |
Rechargeable models | Outer shell, charging contacts, case | Keep charging areas dry and dust free |
If you are unsure how to replace a filter, a professional demonstration can help. This is often a good moment to ask about Pre-hearing aid wax removal, especially if wax is interfering with fittings or new devices.
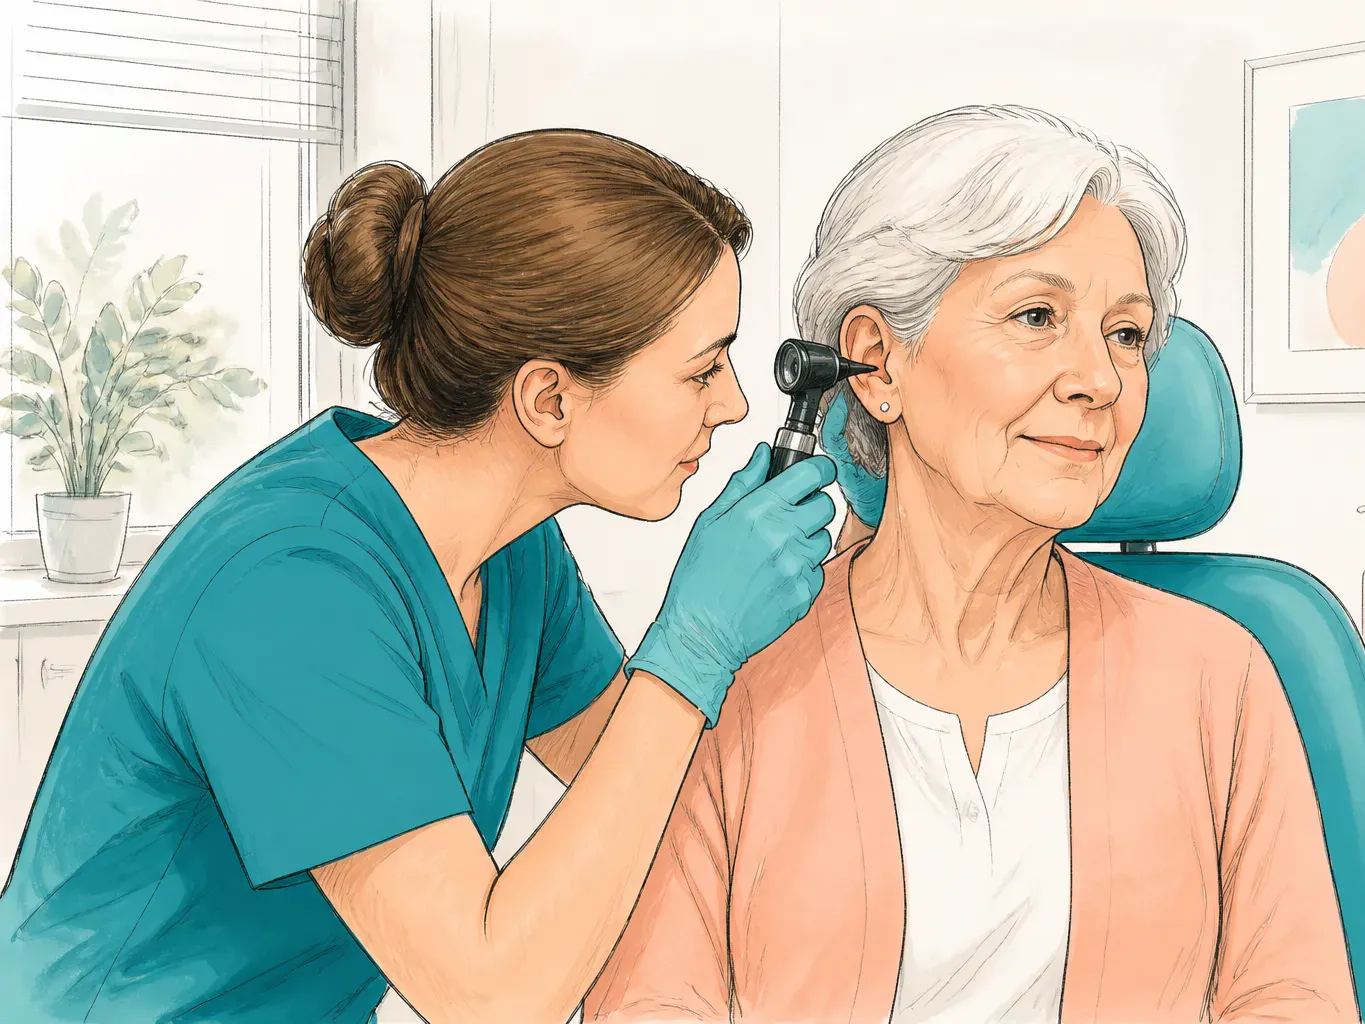
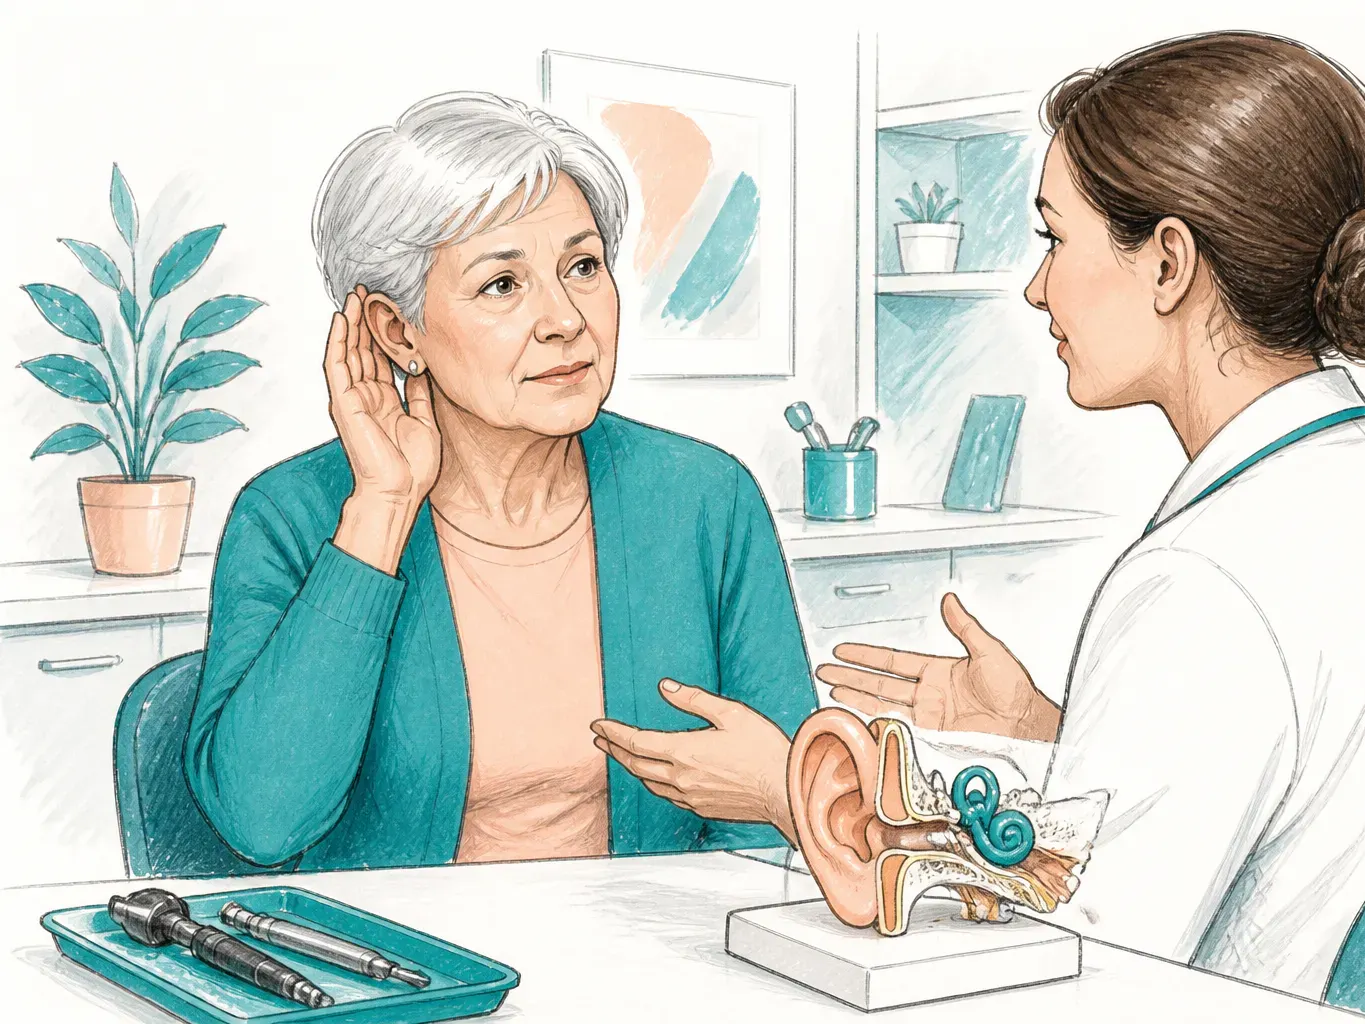
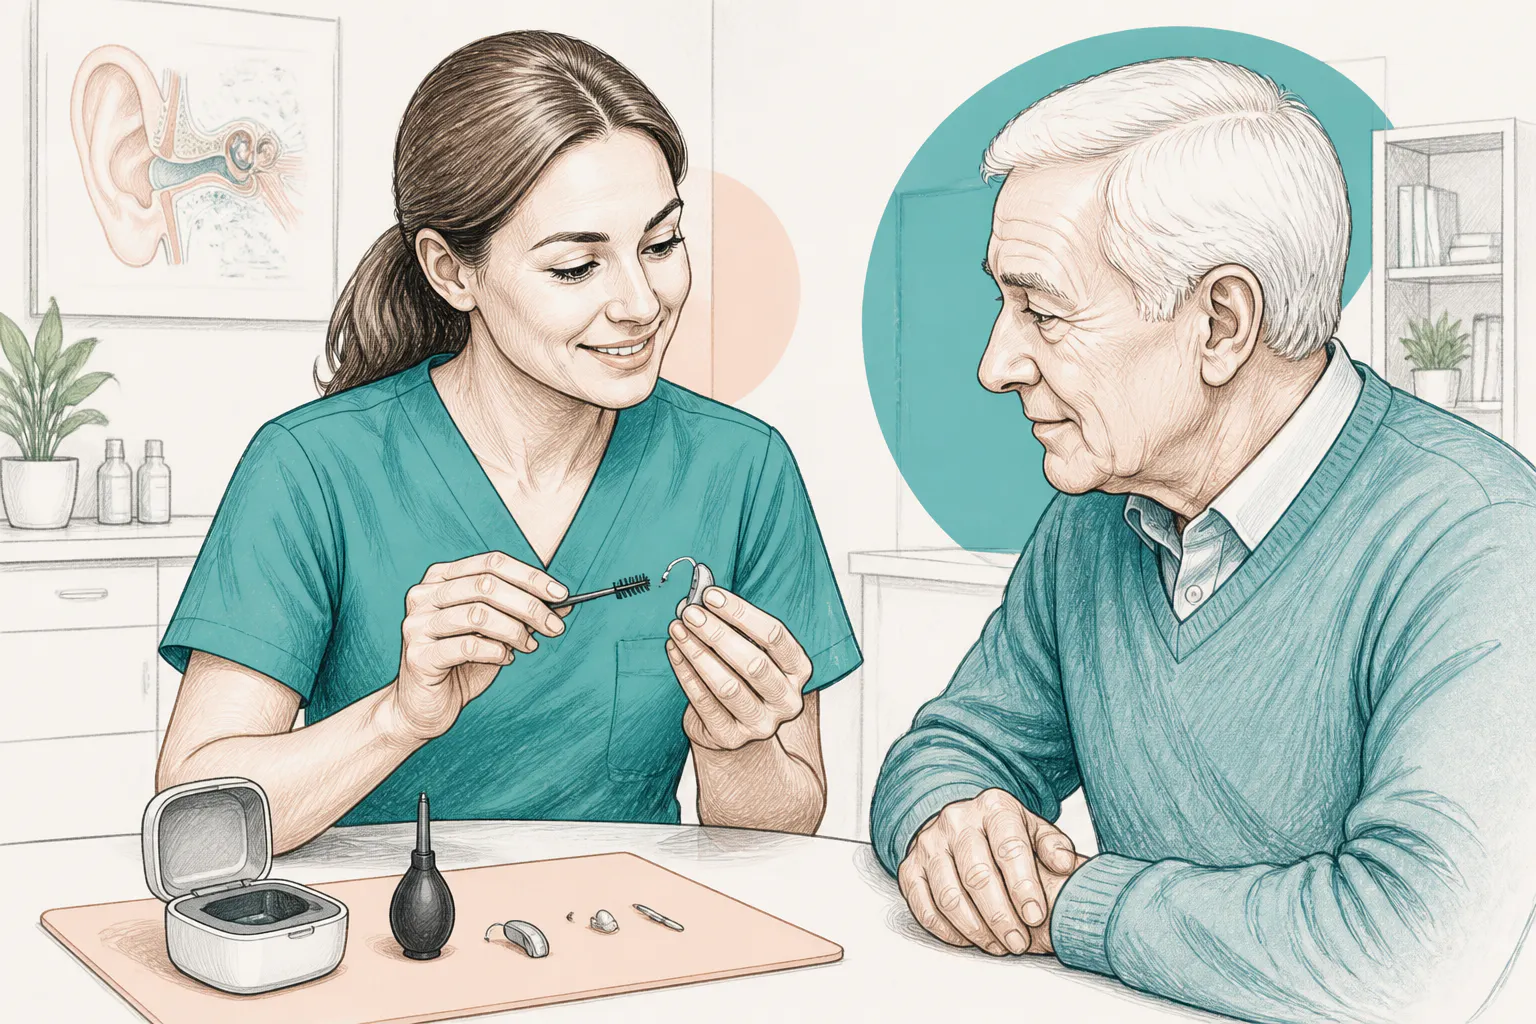
When ear wax needs professional removal
Sometimes home care is not enough. Ear wax should be checked professionally if you notice any of the following:
- ear pain or tenderness
- reduced hearing that does not improve after cleaning the device
- a blocked or full sensation in the ear
- repeated feedback or whistling from the hearing aid
- dizziness, itching, or discomfort in the ear canal
- wax that remains hard or stuck despite softening drops
- discharge, which may suggest infection or another problem
Professional removal is safer than trying to dig wax out yourself. The skin of the ear canal is delicate, and it is easy to scratch or pack wax deeper with home tools. That can worsen symptoms and make the hearing aid less comfortable to wear.
For hearing aid users, wax removal is often needed before fitting, re fitting, or fine tuning. If the canal is blocked, the audiology team may not be able to assess hearing accurately or get a stable fit.
Microsuction, irrigation, or home softening: which option fits?
There is no single best approach for everyone. The right choice depends on the amount of wax, the condition of the ear, whether you wear hearing aids, and how quickly relief is needed.
Option | How it works | Best for | Benefits | Limitations |
|---|---|---|---|---|
Microsuction | A clinician uses gentle suction to remove wax | Hard wax, hearing aid users, quick relief | Usually fast, controlled, no water used | May feel noisy, not always suitable for every ear |
Irrigation | A stream of warm water flushes wax out | Some soft wax cases | Common and effective in suitable ears | Not suitable for all patients, especially if there is ear disease or certain medical history |
Home softening | Drops, such as olive oil or other softeners, are used to loosen wax | Mild wax build-up, preparation before treatment | Can help soften wax and reduce discomfort | Takes time, may not fully clear impacted wax |
Doing nothing | Leaving wax alone | Rarely the best option | No immediate intervention | Wax may worsen, hearing aid function may decline |
For many hearing aid wearers, microsuction is often a practical option because it is controlled and does not introduce water into the ear. If you want to understand the process more fully, see How microsuction works.
Home softening can be helpful before treatment, but it is not a guarantee that the wax will come out on its own. If you have pain, discharge, a history of ear surgery, or repeated blockages, it is wise to ask a clinician which method is appropriate.
The NICE guidance on adult hearing loss management supports careful assessment and individualised care, which is especially relevant when hearing aids and wax issues overlap.
How to protect hearing aids from future wax build-up
The best long term results usually come from small habits repeated consistently. Prevention is not about being perfect, it is about reducing avoidable build-up and catching problems early.
Helpful habits include:
- cleaning the hearing aid every day or as advised
- using wax guards and replacing them on schedule
- keeping the device dry overnight
- avoiding creams, hairspray, and heavy moisturisers near the ears before putting the aid in
- washing and drying hands before handling the device
- booking regular servicing so worn parts are replaced before they fail
- checking for early signs of blockage, rather than waiting for sound to stop completely
For carers and family members, a little organisation goes a long way. Keep spare filters, batteries or charging instructions, and the device manual in the same place. If the person you are supporting has dementia, limited dexterity, or poor eyesight, simplify the routine as much as possible and use consistent steps each day.
Care home staff can also reduce problems by noting when a hearing aid sounds quieter, whistling more than usual, or falling out. These can be early clues that wax is building up or that the fit has changed.
When to get help from an audiology or ear wax specialist
Get professional help sooner rather than later if you are dealing with pain, discharge, sudden hearing change, repeated blockage, or a hearing aid that keeps failing despite careful cleaning. These signs can point to wax, but they can also indicate another ear problem that needs assessment.
You may also want specialist support if:
- you are elderly and find self care difficult
- the hearing aid is needed every day for communication and safety
- you are anxious about treatment and want a gentle approach
- you live in a care home and need on site support
- you cannot travel easily to a clinic
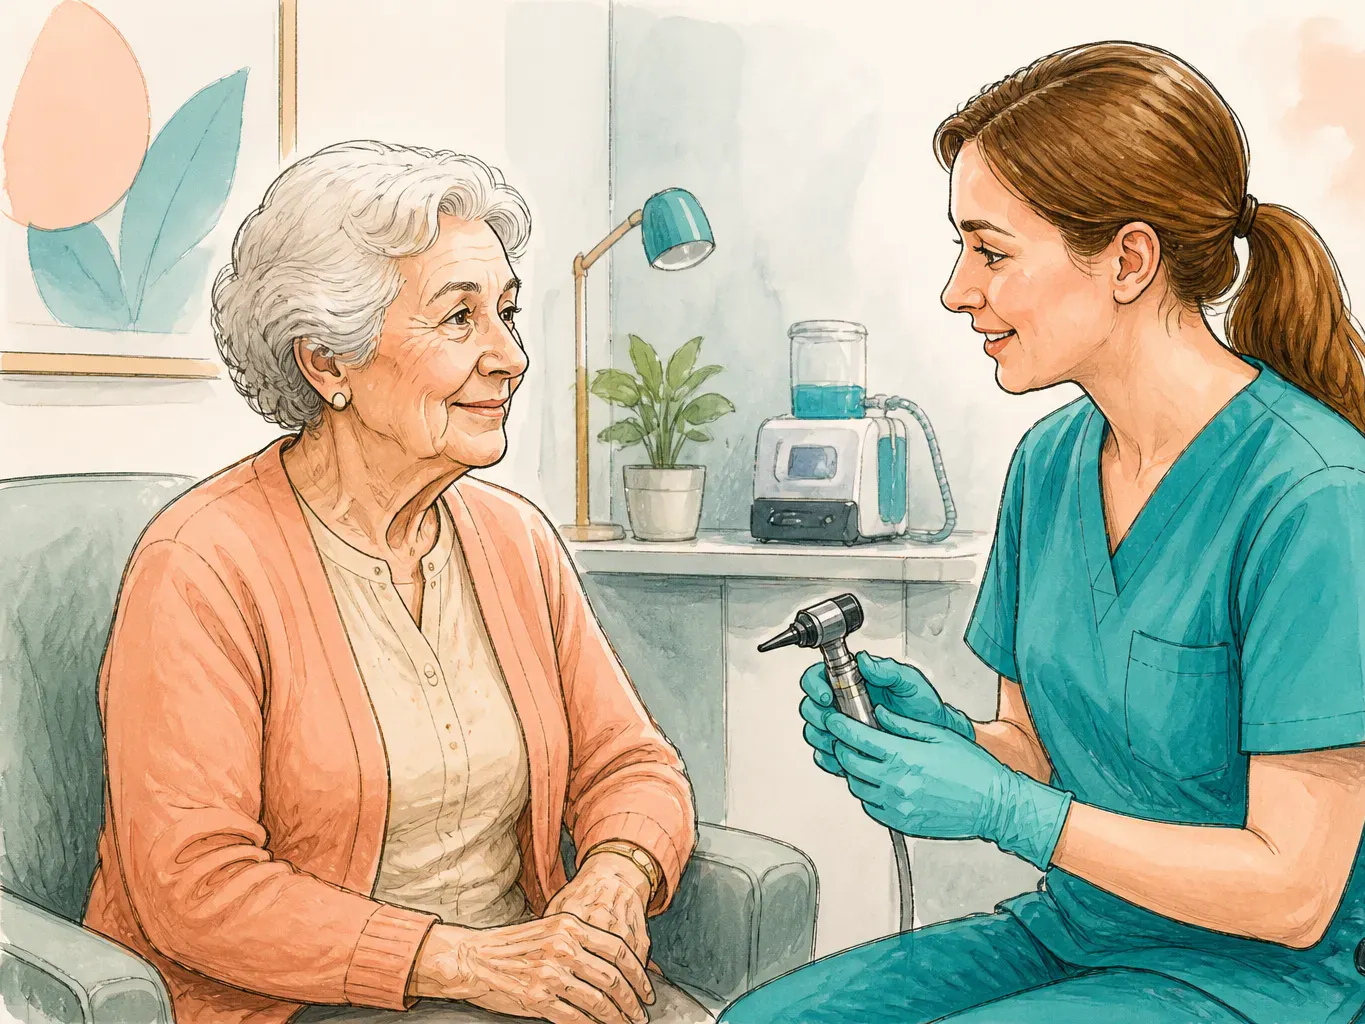
A clinic appointment is often suitable when you want a full assessment and treatment in one visit. Some patients prefer same day relief, while others benefit from a planned appointment that allows time for explanation and reassurance. In some cases, a home visit may be the most practical option, particularly for patients with limited mobility.
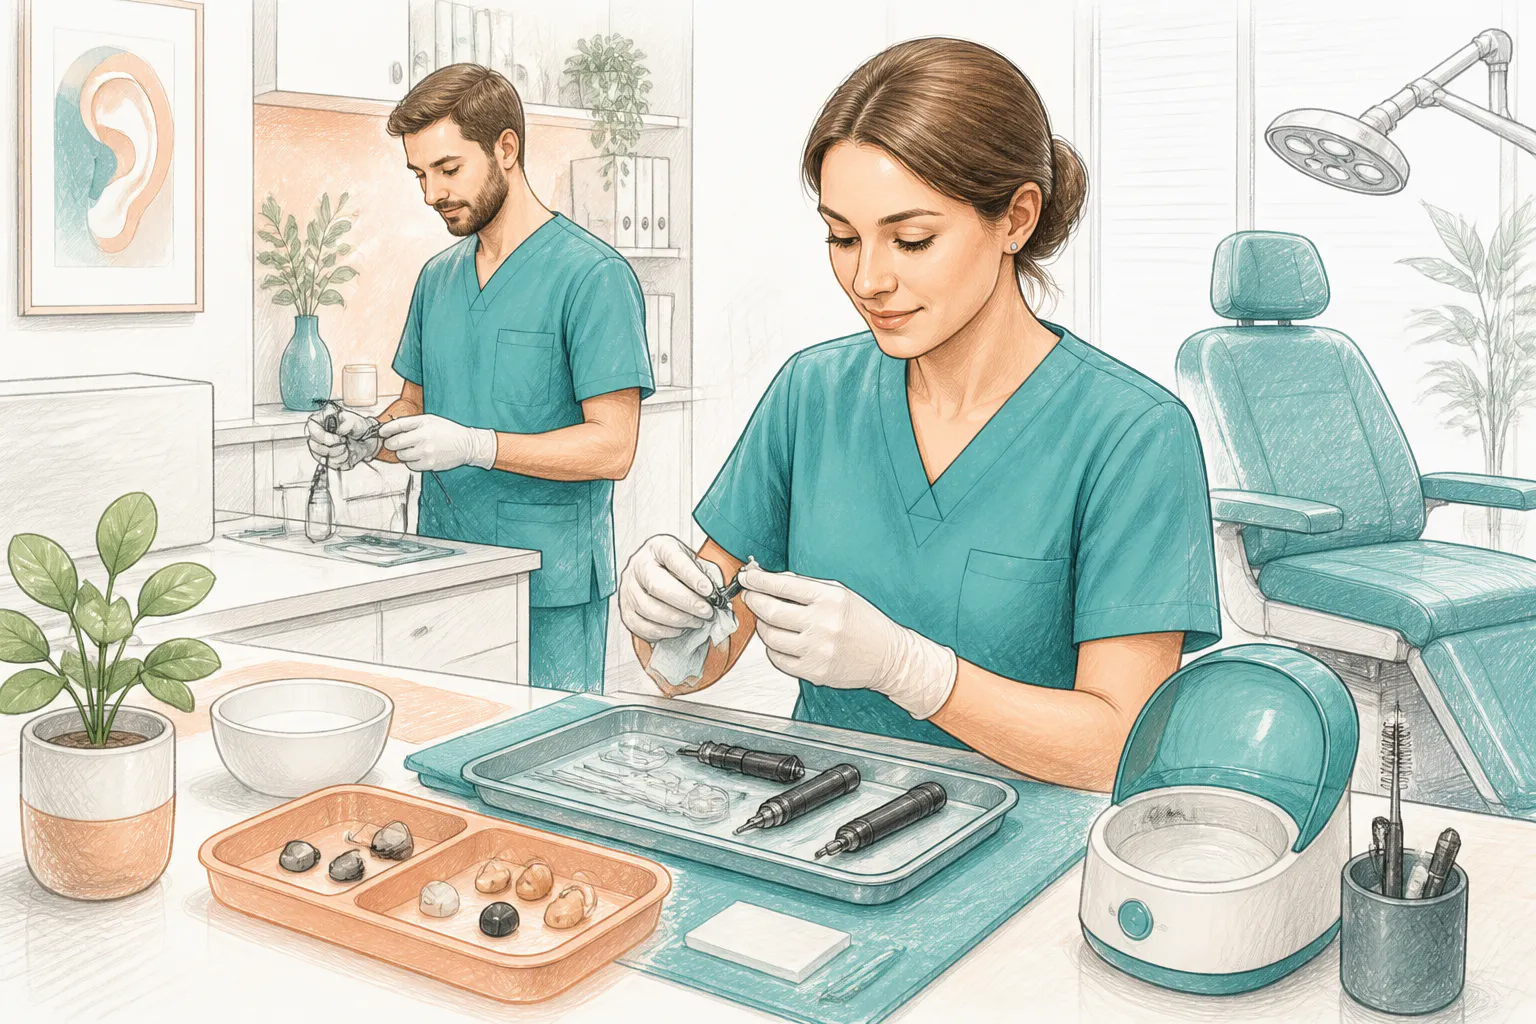
At Pro Ear Clinic, the emphasis is on calm, patient first care, because ear problems are often more stressful than they look on paper. A careful explanation, a gentle technique, and time to ask questions can make all the difference, especially for first time patients or anyone who has had a difficult experience before.
If you are in Bristol or nearby and need flexible support, Home visit earwax removal in Bristol may be a useful option to explore.

Quick summary and recommended reads
Cleaning hearing aids and managing ear wax go hand in hand, but they are not the same task. The device needs regular gentle cleaning, and the ear canal may need professional wax removal if symptoms continue.
The main points to remember are:
- Ear wax can block sound and make hearing aids seem faulty.
- You can safely clean the outside parts of most hearing aids at home.
- Do not put sharp tools, cotton buds, or water into sensitive parts.
- If wax keeps returning or hearing changes persist, professional removal is safer.
- Microsuction is often a good option for hearing aid users who want controlled wax removal.
- Regular prevention and servicing can reduce repeat problems.
Recommended reads
- Microsuction ear wax removal
- Pre-hearing aid wax removal
- Home visit earwax removal in Bristol
- How microsuction works
For further background, you may also want to review the British Society of Audiology guidance on earwax and hearing care and general NHS hearing aid advice.
FAQ
Can ear wax stop a hearing aid from working properly?
Yes. Wax can clog the receiver, block the dome, reduce volume, and cause whistling or distorted sound. Sometimes the hearing aid is fine and the ear canal is the real issue.
How often should I clean my hearing aids?
Most people benefit from a quick daily wipe and a more thorough weekly check. If you use your hearing aids all day, or live in a dusty or humid environment, you may need to inspect them more often.
What should I not use to clean hearing aids?
Do not use cotton buds inside the ear canal, pins, needles, sharp tools, or excess liquid. Avoid alcohol or cleaning sprays unless the manufacturer says they are safe for your exact device.
Is it safe to use olive oil before hearing aid wax removal?
Olive oil is sometimes used to soften ear wax at home, but it is not suitable for everyone. If you have pain, discharge, a perforated eardrum, ear surgery history, or uncertainty about the cause of blockage, ask a clinician first.
Should I remove ear wax before getting fitted for hearing aids?
Yes, if wax is present, it is usually best to clear it before fitting or refitting hearing aids. A clear canal helps with comfort, sound quality, and accurate assessment.
When should I book professional ear wax removal?
Book professional help if you have pain, reduced hearing, persistent blockage, recurrent device problems, or wax that does not clear with safe home softening. If symptoms are sudden or severe, seek advice promptly.